## Starting Visual SceneMaker
Before you start creating your interactive applications, we need to make sure that SceneMaker is running smoothly. Please make sure you followed the instructions given in the <a href="../getstarted.html" target="_blank">Get Started</a> section. If so, open the Visual SceneMaker project on Netbeans.
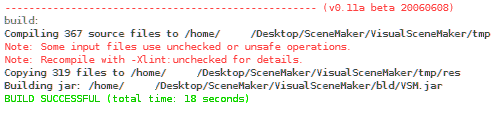
Proceed to clean and build the project to generate an executable file and run it by clicking **Run > Clean and Build Project** from the main menu. If everything went fine, you should see a success message in the output console of NetBeans.
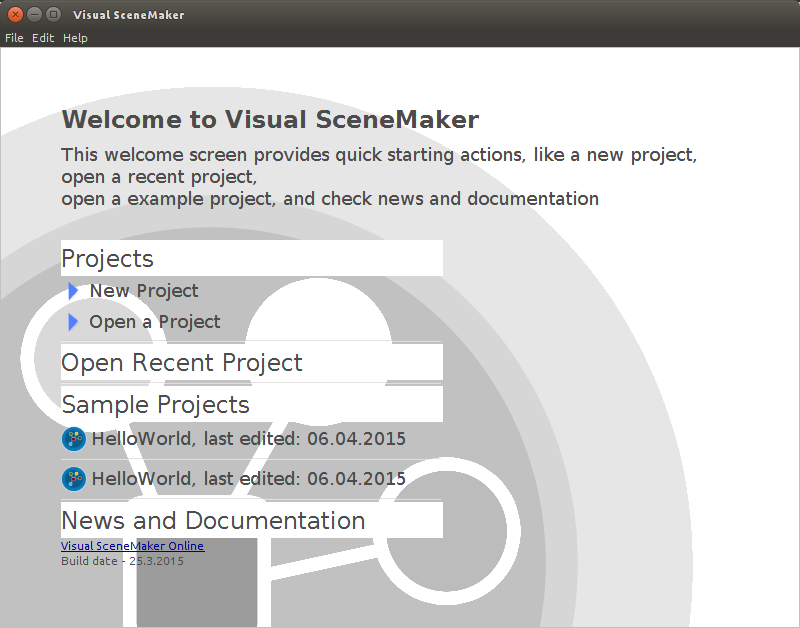
To start Visual SceneMaker, click on **Run > Run Project** from the main menu. SceneMaker will be launched and you will be received by its Welcome Screen where you have quick access to recently closed projects and example sceneflows.
**Great!** Now that SceneMaker is up and running we can <a href="tut_newSceneFlow.html">create our first SceneFlow</a>.
Back to Tutorials Index...